Table of Contents
Introduction to Google Firebase
What is up everybody? Welcome to this new video with taxp. Today I’m going to be showing you how to get started with a server of Google Firebase. This is your ultimate beginner’s guide to understanding and using Firebase to build amazing applications without managing complex server infrastructure.
Firebase services overview
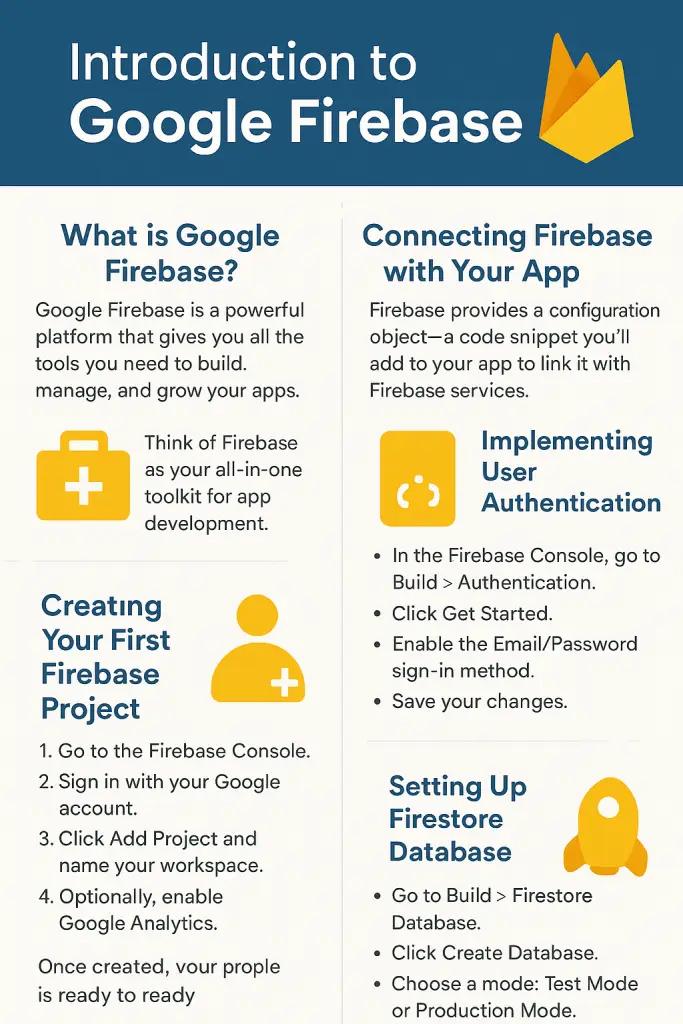
So what exactly is Google Firebase? Google Firebase is a powerful platform that provides you with all the tools you need to build and grow your applications. It handles the backend infrastructure so you can focus on creating a fantastic user experience on the front end. Think of it as your all-in-one toolkit for app development.
Think of Firebase as your all-in-one toolkit for app development.
Here are just a few services you can use:
1. Authentication – Easily add user sign-up and sign-in with providers like email/password, Google, Facebook, and more.
2. Realtime Database – A NoSQL database to store and sync data in real time across all clients.
3. Cloud Storage – Store and serve user-generated content such as images, videos, and files.
4. Hosting & Cloud Functions – Deploy websites quickly and securely, and run backend code in a serverless environment triggered by Firebase services or HTTPS requests.
Firebase Cloud storage and functions
You have the real-time database, a NoSQL database that allows you to store and sync data in real time across all connected clients. Then you have cloud storage where you can store and serve user-generated content like images, videos, and files. And of course, there are also cloud functions and hosting. You can deploy a web application or static website quickly and securely with Firebase hosting and run backend code in a serverless environment in response to events triggered by Firebase services or HTTPS requests.
Creating Your First Firebase Project
So let’s set up my first Firebase project. Let’s get started by creating one in Firebase. I’m going to head into the option that says Go to Console. Here we can sign in with a Google account. Now, we can choose the option that says Try the Firebase Studio and inside here we can start by adding an actual project. Now, we can enter a name for the workspace. Let’s say I select workspace. In this case, I’m going to go for new workspace. You can also try out a React sample or whatever you prefer. Just enter a name for it.
Let’s walk through setting up your very first Firebase project:
1. Go to the Firebase Console.
2. Sign in with your Google account.
3. Click Add Project and give your workspace a name. (For this demo, I’ll call mine New Workspace.)
4. Optionally, enable Google Analytics, or skip if you just want to start with an empty workspace.
5. Once created, your project will appear in the dashboard, ready to connect with your application.
Configuring Firebase workspace
After the project is ready, Firebase provides a configuration object—a small code snippet you’ll add to your app to link it with Firebase services. You can also use Gemini AI inside Firebase Studio to guide you through the setup. Gemini helps you generate code snippets, configure settings, and even experiment with AI-powered tools right inside your project.
We can configure Google Analytics if we want to. In this case, I want to just stick with a new empty workspace. I’m going to type textress. There we go. Now, let’s add Firebase to my application. Here, I’m going to connect Firebase to my application. In my Firebase project KZO, what I need to do is wait until my workspace has been correctly added. I’m going to head into the upper side and try Gemini. Gemini can help me enter code and so much more. When you create your very first project, it should appear here. To get started, you have Gemini 2.0 experiments. There’s verification and optimization with confidence. We can check out testing agents, generate images, and see all the products. If I choose, for example, the product overview, I’ll be provided with a Firebase configuration object. We can add an actual script if we want to. I can also look at my account, see all my projects, and start with the app.
Implementing User Authentication
So let’s see what we can do to get started. For example, additional providers. I have the safest IDs from external elements. Here are my sign-in methods. There are a few templates, usage settings, and extensions. Now, let’s implement user authentication. We can go into Build > Authentication and click Get Started. You can enable the email and password sign-in provider as you can see here in the sign-in method. Here are the advanced elements and native providers. I enable them and hit Save.
One of the first things most apps need is user authentication. Firebase makes this super easy:
1. In the Firebase Console, go to Build > Authentication.
2. Click Get Started.
3. Enable the Email/Password sign-in method (or add other providers like Google or Facebook).
4. Save your changes.
Now your app supports secure sign-in and sign-up functionality.
Setting up Firestore database
Add a new provider like Google, enter support email for the project, and hit Save. Now it really works. Next, let’s explore storing and retrieving data with Cloud Firestore in the Firebase console. Go into the option that says Build in the left section. Here we have authentication, the project overview, and so on. Now under Build we can look for Firestore databases and click Create Database. Choose a security rule option, for example start in test mode for development. In your web app with JavaScript, use the Firestore SDK. Note that after you select a location, you cannot change it later. So go for Next. Here’s the option to start in production mode, but for now we can try test mode. You can even use the product overview section to see the Getting Started guide.
Next, let’s store and retrieve data with Cloud Firestore:
1. Go to Build > Firestore Database in the left menu.
2. Click Create Database.
3. Choose a mode:
4. Test Mode – great for development.
5. Production Mode – more secure for live apps.
6. Pick your database location (note: this can’t be changed later).
Once set up, you can use the Firestore SDK in your JavaScript app to read and write data in real time.
Generating app with Gemini
Let’s go with Gemini and ask it to create an application. Gemini can generate an app in the actual console of Google Firebase. For example, it creates a Firebase project, I add Firebase to my application, and basically that’s it. So as you can see, it’s really easy to take the first step into the world of Google Firebase. This is a powerful platform that offers so much more to explore so you can start building amazing applications.
Conclusion & Next Steps
And that’s it—you just took your first steps into Firebase!
Firebase is a powerful platform with endless possibilities. From authentication to hosting, databases, and AI-powered tools like Gemini, you now have everything you need to start building amazing applications.
Go ahead, create your own project in Firebase Studio, experiment with authentication, try Firestore, and even use Gemini to speed up your development process.
Thanks for reading, and I’ll see you in the next guide!